
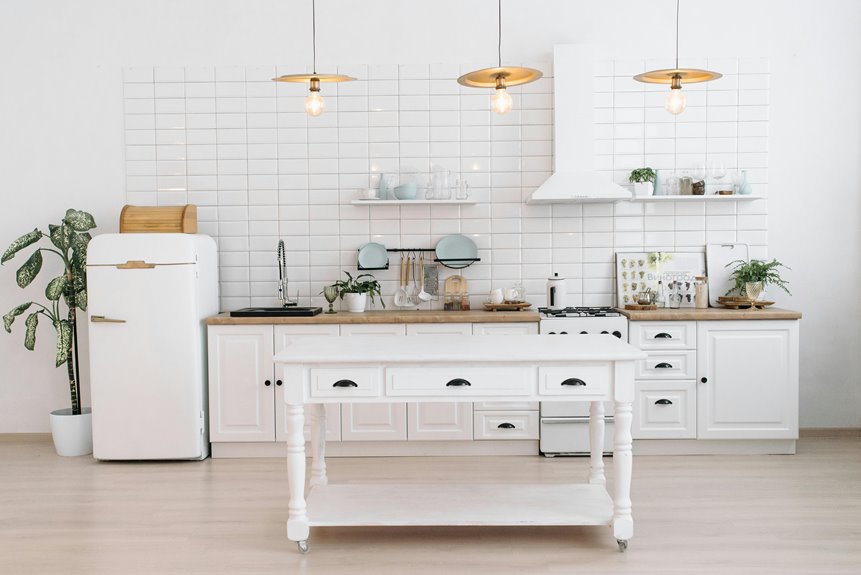
Create a more functional and visually appealing kitchen with these practical updates. Start by anchoring your counter with a small wood tray holding daily essentials like salt, pepper, and oil. Swap tired cabinet hardware for oil-rubbed bronze or matte black pulls—measure your doors first for proper scale. Display fresh herbs in mason jars on your windowsill near the prep area. Add open shelving to showcase dishes grouped by color, lean framed botanical art against the wall, and consider bold cabinet colors paired with soft marble counters. Each layer builds a space that works well and looks good, with many more options available for combining these elements effectively.
Start With a Small Wood Tray to Anchor Your Kitchen
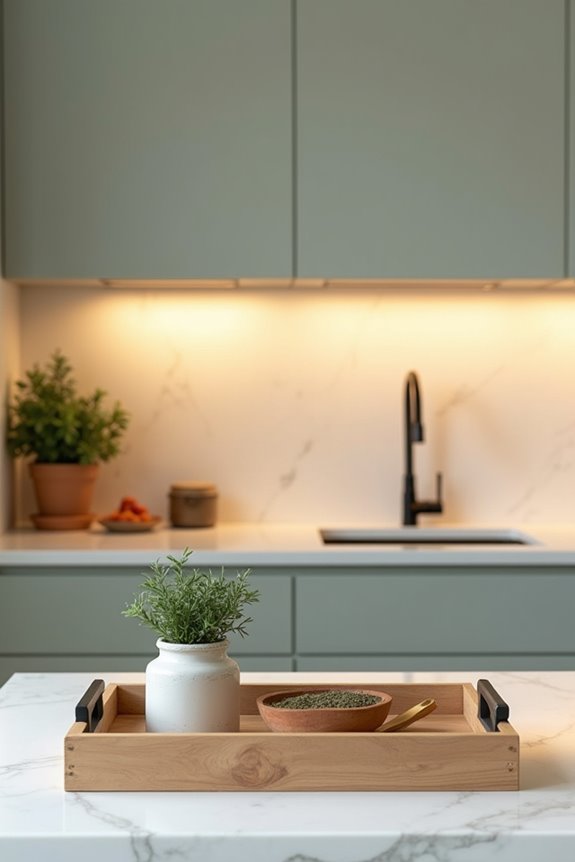
Why settle for a cluttered counter when you can create an organized, beautiful focal point with one simple piece? A small wood tray becomes your kitchen’s anchor, grouping daily essentials like salt, pepper, oil, and a spoon in one accessible spot. The natural material provides texture, especially when contrasting with metal or stone countertops. Position yours within arm’s reach of your prep zone to minimize movement and keep clutter contained. Add fresh herbs or a compact vase for natural color and that lived-in feeling. These kitchen decor ideas work because they’re practical and functional. Rotate seasonal spices or minimalist pieces throughout the year to refresh your space. Your wood tray makes daily cooking a more organized ritual.
Swap Cabinet Hardware to Refresh Character
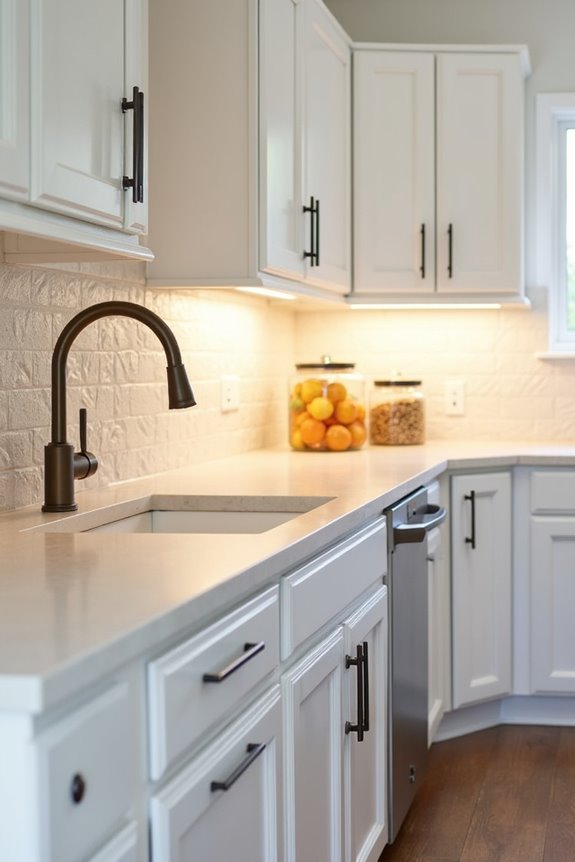
I’ve discovered that swapping out tired brass pulls for sleek oil-rubbed bronze or matte black handles can refresh your cabinets—and it’s one of the easiest updates you can make affordably. You’ll want to measure your door panels and choose hardware scaled appropriately, like a 3-inch pull for standard 18-inch doors, then simply unscrew the old knobs and install the new ones in minutes with a basic drill. The best part is how this single change coordinates beautifully across your two-tone cabinetry, pulling everything together into a polished, cohesive look that feels current.
Hardware Styles And Finishes
One of the quickest ways to change your kitchen’s character is swapping out your cabinet hardware—those little pulls and knobs that catch your hand every single day. Choosing the right finishes matters. Oil-rubbed bronze creates warmth and sophistication, while brushed nickel brings modern elegance. Vintage-inspired pulls work beautifully on shaker cabinets, adding authentic charm. Consider what surrounds your cabinets too. If you’ve got marble countertops or two-tone cabinetry, matching hardware finishes creates visual cohesion. Scale matters deeply. Larger drawers deserve substantial handles, while smaller doors look best with proportional knobs. The hardware you select becomes a decorative motif that ties your whole kitchen together, connecting you to your space.
Budget-Friendly Cabinet Updates
Now that you understand how hardware finishes shape your kitchen’s personality, here’s the exciting part: you don’t need to replace your cabinets to achieve that look. Hardware upgrades deliver noticeable results at reasonable prices. Swapping tired brass pulls for oil-rubbed bronze, matte black, or brushed nickel gives your kitchen a fresh appearance.
The benefit? You’re investing in mid-range pulls and knobs, not expensive renovations. Before purchasing, measure your door panels and check existing hole patterns so installation stays simple. When hardware aligns properly with your cabinet scale, everything works well—both functionally and visually. This upgrade changes how your kitchen feels and looks, creating the cohesive style you’ve been seeking. Countless homeowners have discovered this approach works: sometimes small changes bring real satisfaction.
Installation Tips And Techniques
Because you’ve already chosen your new hardware finish, it’s time to get it installed—and this is one of the easiest upgrades you can tackle yourself. Start by removing the existing screws from your cabinet hardware. Then align your new pulls or handles with the pre-drilled holes, checking that everything sits flush against the drawer or door. Use a level to maintain uniform height across all your cabinets—this detail matters. For a polished look, repeat your hardware style and finish everywhere. If your cabinets have inset doors, choose minimalist designs that maintain clean lines. This simple installation will improve your kitchen’s character while keeping costs low.
Display Fresh Herbs in Simple Vessels
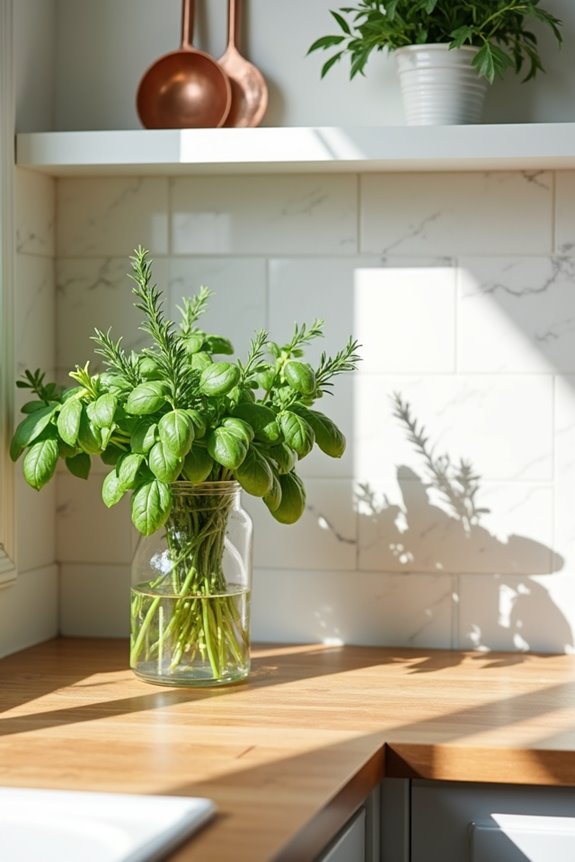
Fresh herbs in simple mason jars or glass bottles create a vibrant, fragrant kitchen space. I’ll show you how to choose the right vessels, position them strategically near your prep area, and keep them looking crisp and inviting through simple daily care. These three elements—the containers themselves, their placement, and consistent maintenance—work together to create a central point that actually encourages you to use your herbs more often.
Choosing The Right Vessels
How do you turn a bunch of herbs into kitchen décor that actually works? I’ve found that choosing the right vessels makes your herbs display go from cluttered to organized. I reach for clear glass jars, ceramic mugs, or small matte-finish stoneware—they’re simple, uniform, and let your herbs stand out. The key is matching your vessel colors to your kitchen’s palette, creating a cohesive look you’re after. I keep mine on my windowsill near my prep area, where they’re both attractive and practical. When I group three or four herb varieties together with varying heights, it creates visual interest that feels satisfying. Clean, dry vessels matter too. They keep your herbs fresh longer and look deliberate, like you’ve put thought into your kitchen.
Herb Placement And Styling
Where you position your herb display affects how well it functions in your kitchen. Placing herbs near your prep area keeps cooking organized and efficient. Open shelving works well for herb placement because it keeps everything visible and accessible. Group culinary herbs separately from garnish varieties, creating a system that supports your cooking routine.
| Herb Type | Best Location | Container | Frequency | Result |
|---|---|---|---|---|
| Basil | Near stove | Glass jar | Daily water | Vibrant |
| Mint | Open shelving | Ceramic cup | Daily trim | Fresh |
| Parsley | Prep area | Terracotta pot | Seasonal | Thriving |
| Rosemary | Counter edge | White ceramic | Weekly check | Aromatic |
| Cilantro | Window sill | Clear glass | Daily refresh | Lush |
This arrangement lets you grab what you need instantly.
Maintenance And Freshness Tips
Why settle for wilted herbs cluttering your countertop when simple vessels can keep them vibrant and accessible?
Maintaining freshness is straightforward. Trim stems at a 45-degree angle every few days, then place herbs in mason jars or ceramic cups filled with fresh water. Change the water every other day—this simple step keeps your herbs perky and ready to use.
Here’s what works: remove any leaves touching the water immediately, since they’ll rot and ruin the whole bunch. Position your vessels near the sink or prep area where you naturally cook. This placement keeps stems hydrated while making snipping effortless.
Rotate seasonal herbs like basil, thyme, and parsley regularly. When you maintain them consistently, your kitchen displays freshness and thoughtfulness. Your countertop becomes both attractive and genuinely useful.
Add Open Shelving for Display and Storage
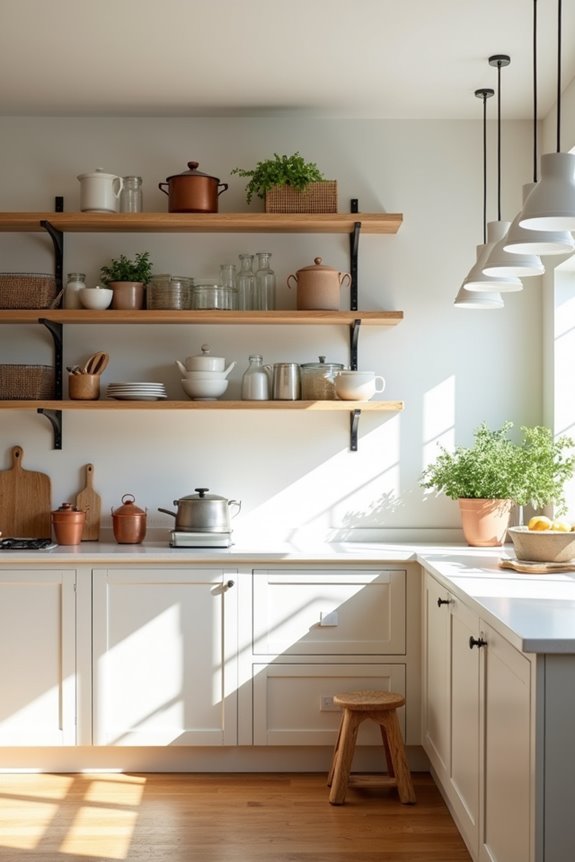
Open shelving might be the addition your kitchen needs. Displaying your favorite dishes, glassware, and cookbooks creates an inviting space that’s yours.
Group items by color or function—stack your white plates together, arrange glassware by type, and line up spices in matching jars. This organization keeps everything accessible while looking organized. Mix in decorative touches too: vintage containers, small potted herbs, and plate racks add personality without clutter.
Balance openness with closed storage elsewhere. Install sturdy brackets rated for your dishes’ weight. When done right, open shelving turns your kitchen into a warm gathering space where everything you love is visible and within reach.
Lean Framed Art and Cutting Boards Against Walls
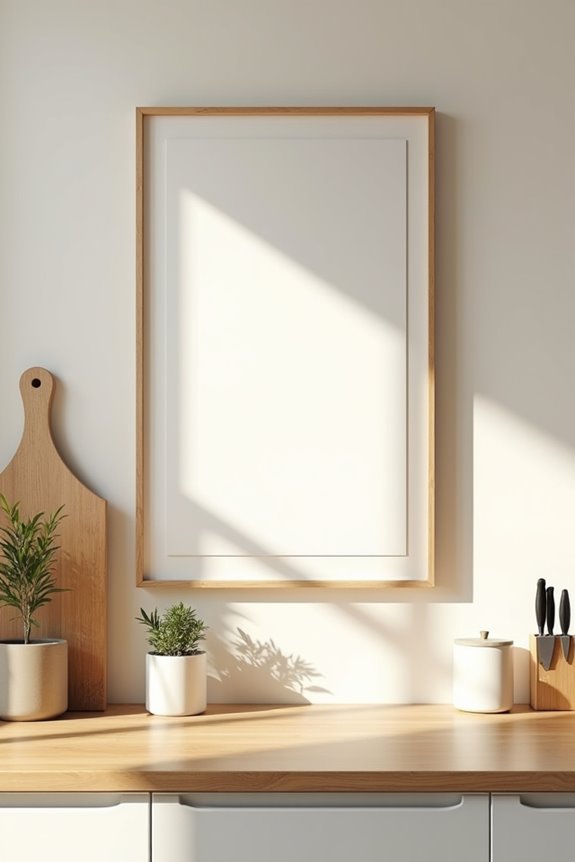
While open shelving showcases your everyday essentials, leaning framed art and cutting boards against your walls brings gallery-inspired style to the mix. This approach lets you refresh your kitchen decor without permanent commitments. Prop framed pieces featuring Delft-inspired blues and warm neutrals against the wall, then position sturdy cutting boards nearby to blend beauty with function.
| Art Style | Frame Material | Color Palette | Best Location | Pairing Option |
|---|---|---|---|---|
| Botanical prints | Brass | Soft greens | Above counters | Wooden boards |
| Vintage recipes | Black metal | Navy, cream | Kitchen nook | Marble boards |
| Abstract patterns | Natural wood | Warm tones | Corner walls | Slate boards |
| Still life | Matte black | Calacatta tones | Dining wall | Acacia boards |
| Culinary quotes | Brushed gold | Neutral blend | Accent wall | Bamboo boards |
This display celebrates a shared appreciation for inviting spaces.
Hang Decorative Pendants Over Islands and Sinks
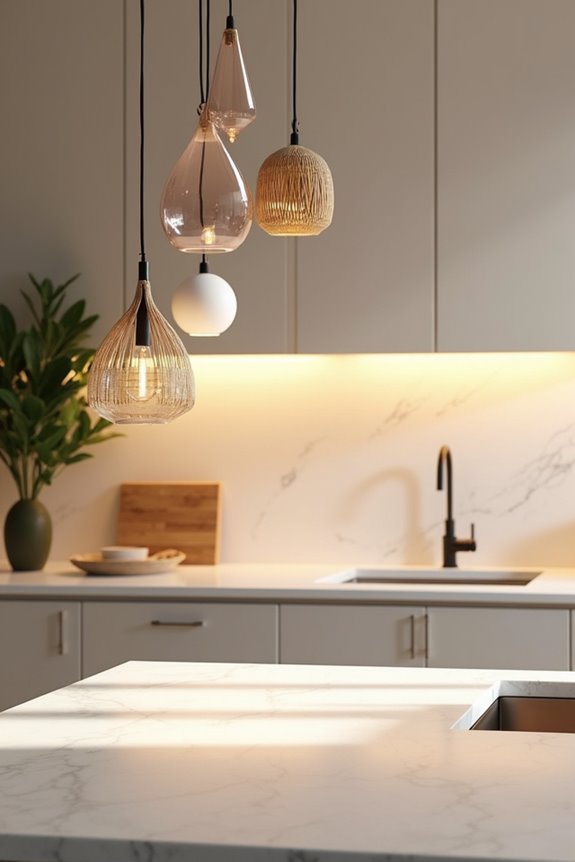
How do you anchor a kitchen’s entire mood with just the right lighting? Hanging decorative pendants over your island or sink defines the space with purpose and style. Consider Porcelain ‘Beta’ pendants for focused task lighting that serves as a focal point. Beata Heuman’s ‘Dodo Egg’ lanterns create beautiful clusters that enhance the entire room. Vintage 1940s-style pendants add classic charm and personality. The key is selecting pendants that harmonize with your cabinetry finishes and surrounding ironmongery. In open-plan layouts and double-height spaces, these hanging lights become anchors that define your kitchen’s character. They’re not just practical—they’re declarations of style that make your space feel deliberately designed and welcoming.
Refresh Your Backsplash With Zellige Tile or Paneling
Your backsplash is the perfect canvas to inject personality into your kitchen, and you’ve got two fantastic routes to explore: vibrant Zellige tiles that bring handcrafted charm and color, or textured paneling for a more understated look. Zellige’s irregular glazed surfaces and jewel-toned hues can absolutely refresh a neutral kitchen, whether you’re running the tiles full-height behind your counters or creating a bold accent behind the stove. Installation matters here—you’ll want to plan your layout carefully, seal your grout to keep those rich colors vibrant, and decide if you’re going for a concentrated band of impact or letting the pattern spread across your entire wall.
Zellige Tiles For Color
When you’re ready to install zellige tiles on your kitchen backsplash, these hand-cut, glazed terracotta mosaics from Morocco offer distinct visual appeal. These tiles aren’t mass-produced. Each one’s slightly different, which means your backsplash becomes one-of-a-kind.
| Color Option | Best For | Mood It Creates |
|---|---|---|
| Deep blues | Neutral kitchens | Calm, sophisticated |
| Earthy terracottas | Modern spaces | Warm, grounded |
| Mixed jewel tones | Bold statements | Vibrant, artistic |
The glossy glaze bounces light from your pendant lamps, making the space brighter. You’ll notice the subtle color shifts that give real depth. Whether you choose soft neutrals with one bold accent or go full color, zellige tiles create a kitchen that feels deliberate and well-crafted.
Paneling As Textured Alternative
If zellige tiles feel too bold or pricey for your kitchen, paneling offers a beautiful alternative that works well. Tongue and groove or reclaimed timber paneling creates a textured backsplash with real character. Unlike flat surfaces, paneling adds depth and provides visual interest through dimension.
You can stain it to highlight natural grain patterns or paint it in contrasting colors. It pairs well with marble countertops and vintage details, enriching your space without competing for attention like bold tiles might.
What matters: seal your paneling properly to resist moisture and kitchen cleaning. Done right, it becomes a durable, textured backsplash that works as a functional kitchen feature.
Installation And Design Considerations
How do you bring zellige tiles or paneling to life in your kitchen? Thoughtful planning matters when working with your backsplash space.
- Choose contrasting surfaces like Calacatta Oro marble or darker countertops to make your zellige tiles stand out and showcase their handmade charm.
- Seal your tiles properly with quality sealant to preserve those vibrant hues and keep cleaning effortless in your cooking zone.
- Select grout color carefully—it either enhances or diminishes your tile pattern’s impact.
I pair my zellige backsplash with modern cabinetry to soften clean lines. The irregular edges create warmth that solid surfaces alone can’t achieve. Installing these tiles above your prep area changes everyday cooking into something visually interesting. You’re not just updating your kitchen; you’re creating a space that reflects your personal style.
Choose a Bold Cabinet Color or Accent Wall
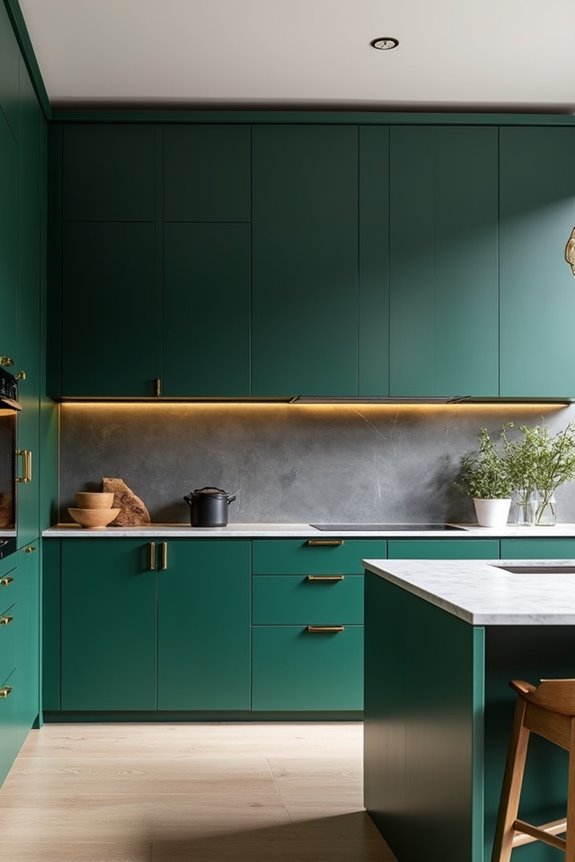
Why settle for predictable beige when your kitchen cabinets can become the star of the show? A bold cabinet color like Farrow & Ball Oval Room Blue or deep navy brings character to your entire space. I’ve found that pairing a bold cabinet color with lighter elements—think white countertops or neutral backsplashes—creates visual depth without overwhelming the room. You’re creating balance, not chaos. Consider upgrading your hardware too. Oil-rubbed bronze or brass pulls complement bold cabinetry beautifully and unify your design. An accent wall works similarly, anchoring your kitchen’s mood when you’re not ready for full commitment. These choices let you design a kitchen that works for you and your home.
Layer in Marble Counters and Wood Surfaces
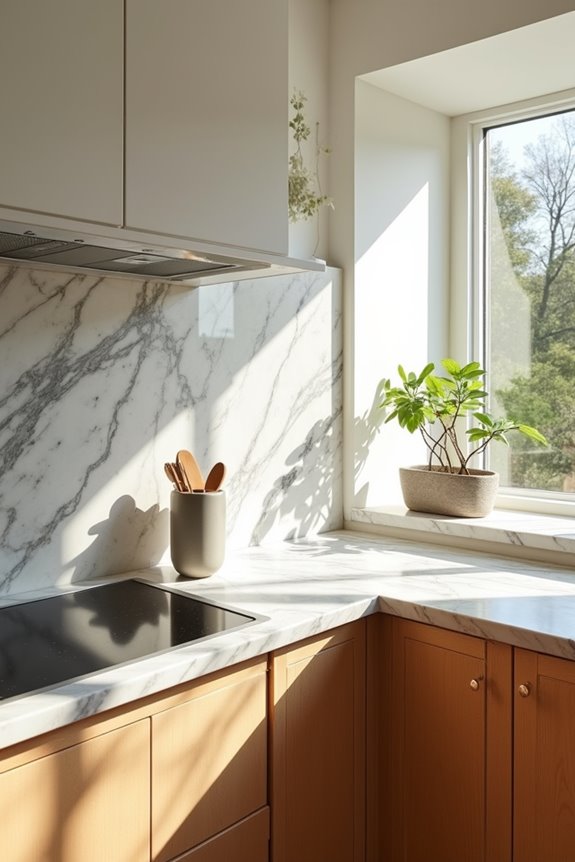
Now that you’ve established your kitchen’s personality with bold cabinetry, it’s time to layer in surfaces that feel both luxurious and lived-in. Marble countertops bring undeniable elegance—think Calacatta Oro with its striking veining—while wood surfaces warm up the space beautifully.
Marble countertops bring undeniable elegance while wood surfaces warm up the space, creating a luxurious yet lived-in kitchen.
Here’s how to create this sophisticated balance:
- Pair marble countertops with oak shelving or wooden tables to blend cool stone with warm timber tones
- Add contrasting textures like Terrazzo-backed walls or tile accents behind your marble surfaces for visual depth
- Style a marble island with leather and dark bronze bar stools for rich, textural richness
This combination creates a kitchen that feels both refined and inviting, proving that luxury doesn’t mean sacrificing comfort.
Edit and Arrange for a Cohesive Look
With your marble counters and wood surfaces creating a strong foundation, you’re ready for the work that’ll bring everything together—editing what you’ve got and arranging it with real purpose.
Start by evaluating your cabinet hardware and choosing a unified color palette. Match oil-rubbed bronze handles with navy or charcoal bases across all doors and drawers. This single decision unifies your entire kitchen immediately.
Next, balance open shelving with closed cabinetry. Style those open shelves with matching bowls, jars, and cookbooks that read as one thoughtful display, not a cluttered collection.
| Element | Your Choice | Location | Result |
|---|---|---|---|
| Hardware | Oil-rubbed bronze | All cabinets | Unified |
| Shelving | Open + closed mix | Throughout | Balanced |
| Accents | Navy or warm wood | Islands, trim | Coordinated |
| Styling | Matching vessels | Display shelves | Deliberate |
This editing approach turns scattered pieces into a purposeful space.