
No, I wouldn’t use decorator’s caulk in your bathroom—it just won’t hold up. Here’s why: it’s acrylic-based and cracks under moisture and temperature swings. You need silicone or silicone-hybrid sealants instead. They’re waterproof, resist mold, and last 5–10 years versus decorator’s caulk’s 1–2 years. Reserve decorator’s caulk for dry areas like baseboards. For tubs, showers, and sinks, use bathroom-grade silicone. I’ll show you which products work best and how to apply them properly.
The Short Answer: When Decorators Caulk Works in Bathrooms
So, can you actually use decorator’s caulk in your bathroom? The answer’s yes, but with important limits.
Decorator’s caulk works well for small gaps and edging that don’t get wet regularly. Use it around painted trim or non-moisture areas where it won’t face constant humidity. It’s affordable, paintable, and practical for these lighter-duty spots.
Decorator’s caulk suits small gaps and dry trim areas—affordable and paintable, but skip moisture-prone spots.
However, here’s what I’ve learned: skip decorator’s caulk around tubs, showers, and sinks. Those areas demand silicone or silicone-hybrid sealants instead. Why? Decorator’s caulk cracks easily under bathroom humidity and temperature swings, letting water sneak behind it.
Think of decorator’s caulk as your temporary solution. Use it now, plan to upgrade later with proper bathroom sealant when durability matters most. This approach gives you flexibility without compromising your bathroom’s integrity.
What Is Decorators Caulk and How Does It Differ From Sealant?
I’ll walk you through the key differences between decorator’s caulk and sealant, because understanding these distinctions matters when you’re deciding what to use in your bathroom. Decorator’s caulk dries with some flexibility, but it’s nowhere near as stretchy as a true sealant, which means it won’t handle the constant moisture swings and movement that bathrooms throw at it. What you’re really choosing between is a product that works well for stable gaps in living rooms versus one engineered specifically for the demanding, wet environment of your bathroom.
Flexibility And Movement Differences
When you’re choosing between decorator’s caulk and sealant for your bathroom, the flexibility difference matters more than you might think. Decorator’s caulk dries with some give, but it won’t stretch much when pipes expand or walls shift. Sealants, though, move with your bathroom’s natural changes. They flex and contract as temperature and moisture fluctuate—something bathrooms do constantly.
I’ve learned that decorator’s caulk works well for minimal-movement gaps, like between skirting boards and walls. But bathrooms are different. Your shower surrounds, tub edges, and sink bases experience real expansion and contraction. If you use decorator’s caulk there, it’ll crack under pressure. Sealants handle this movement effectively, keeping water out where it matters most. That’s why we recommend sealants for bathroom applications.
Moisture Resistance Performance Levels
How much water can your caulk really handle? That’s the question I want you to sit with before choosing what goes around your tub.
Decorator’s caulk and bathroom sealants perform very differently in wet environments. Here’s what you’re actually dealing with:
| Product Type | Water Resistance | Mold Resistance | Lifespan in Bath |
|---|---|---|---|
| Decorator’s Caulk | Moderate | Low | 1-2 years |
| Silicone Sealant | Excellent | Excellent | 5-10 years |
| Hybrid Silicone-Acrylate | Very Good | Very Good | 3-5 years |
| Standard Acrylic | Poor | Low | Under 1 year |
| Polyurethane Sealant | Excellent | Good | 5-8 years |
Your bathroom’s moisture creates real challenges. Decorator’s caulk simply isn’t engineered for continuous water exposure. It’ll crack, discolor, and fail faster. A silicone sealant, meanwhile, stands up to humidity and mold growth. We’re talking about durability that actually protects your home.
Application And Durability Considerations
they’re fundamentally different products designed for different jobs. When I apply decorator’s caulk with my caulking gun, I’m working with a flexible acrylic filler that spreads smoothly into gaps around skirting boards and furniture joints. It dries nicely and I can paint over it after curing, which works well for interior decorative work.
However, a dedicated bathroom sealant—typically silicone or silicone-hybrid—performs differently under moisture stress. The sealant resists water penetration far better, preventing mold growth that plagues bathrooms. Decorator’s caulk simply can’t match that durability in damp environments. Its shallower depth of fill and inferior longevity make it unsuitable for shower surrounds or tub edges where moisture constantly challenges the material’s integrity.
UK vs. US: Why “Caulk” Means Different Things
I’ve got to tell you, the difference between how the UK and US use the word “caulk” can seriously trip you up, especially when you’re trying to waterproof your bathroom properly. In the US, “caulk” means any sealant that keeps water out, but in the UK, it’s just a cheap gap filler that won’t cut it in a wet environment—and mixing these up could leave your bathroom vulnerable to moisture damage. That’s why I always recommend checking your local standards and looking for products explicitly labeled “bathroom sealant” or “sanitary sealant” instead of relying on what you read in articles written for the other side of the Atlantic.
Terminology Differences Across Regions
Why does the same word mean completely different things depending on which side of the Atlantic you’re on?
Terminology confusion between UK and US regions creates real problems for DIYers. In America, “caulk” covers all sealants and gap fillers. Here in the UK, we distinguish carefully between decorator’s caulk—a budget gap filler—and proper sealants for moisture barriers.
| Region | “Caulk” Means | Best for Bathrooms | Moisture Resistant | Cost |
|---|---|---|---|---|
| US | All sealants generically | Either product works | Depends on type | Varies |
| UK | Low-cost filler only | Sealant, not caulk | No, caulk fails | Budget |
| Context Matters | Product type varies | Silicone sealant preferred | Yes, sealant works | Premium |
| Safety Note | Check labels always | Read specifications | Important for bathrooms | Worth investing |
| Best Practice | Ignore region labels | Verify product function | Choose accordingly | No regrets |
I’d recommend checking actual product types rather than terminology alone.
Costly Mistakes From Misunderstanding
Because the word “caulk” describes totally different products on either side of the Atlantic, you could easily end up with a bathroom disaster if you’re not careful. I’ve seen people order what they thought was a bathroom sealant, only to discover they’d purchased basic gap filler instead. That mistake costs money and frustration.
In the US, “caulk” means bathroom sealant—waterproof, mold-resistant stuff for tubs and showers. In the UK, decorators caulk is cheap filler for walls, not wet areas. Using UK caulk in your bathroom leads to failure. The product simply won’t withstand moisture.
Always verify the label says “waterproof” and “bathroom use.” Check if it’s silicone or hybrid. That small effort prevents expensive rework and keeps your bathroom protected properly.
Identifying Your Local Standards
How’s a homeowner supposed to know what they’re actually buying when the same word means something completely different depending on where you live?
Understanding your local standards matters tremendously. In the UK, we typically call moisture-resistant products “sealant,” particularly for bathrooms. Across the pond, Americans use “caulk” generically for similar products. This distinction isn’t just semantic—it affects which material you’ll actually purchase.
| Aspect | UK Standard | US Standard |
|---|---|---|
| Terminology | Sealant | Caulk |
| Primary Use | Moisture-prone areas | Generic sealing |
| Bathroom Application | Silicone sealant | Caulking compound |
| Cost Consideration | Higher quality expected | Variable options |
When you’re shopping locally, ask for “sealant” if you’re in Britain. You’ll find products specifically formulated for bathrooms, kitchens, and wet areas. This gets you the right material for your needs, not a budget gap filler that’ll fail within months.
Why Decorators Caulk Fails in Wet Bathroom Environments
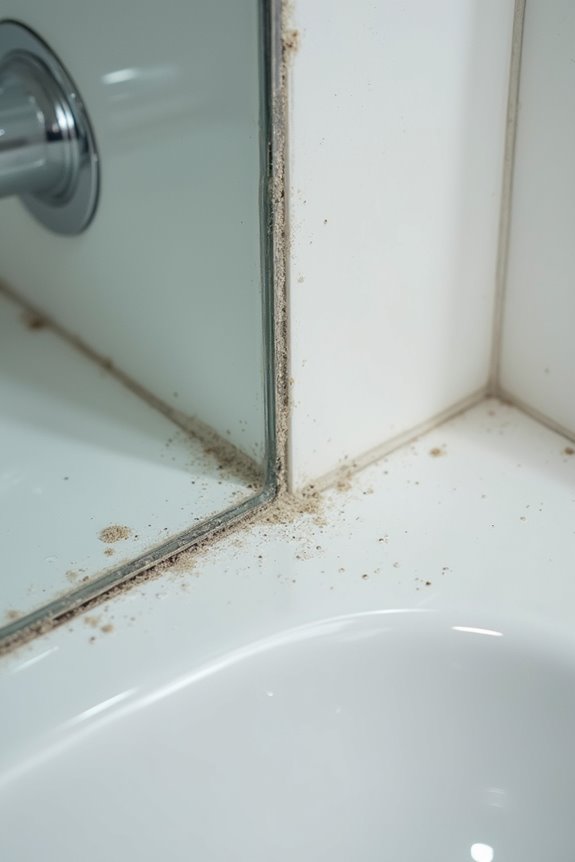
Ever wonder why that fresh caulk around your bathtub starts cracking after just a year or two? I’ve seen it happen countless times, and here’s what’s really going on. Decorator’s caulk is acrylic-based, which means it dries flexibly but can’t handle constant moisture exposure like bathrooms demand. When water and temperature fluctuations hit repeatedly, your caulk loses its grip. It cracks, shrinks, and becomes brittle over time.
That’s where silicone sealant comes in as a better solution. Unlike decorator’s caulk, silicone resists moisture effectively. I recommend using silicone specifically labeled for bath and shower use instead. You’ll avoid water seeping behind walls and creating mold problems that cost serious money to fix. Spending more on quality silicone now prevents costly repairs down the road.
Where Decorators Caulk Actually Works: Non-Wet Areas Only

If you’re working with skirting boards and baseboards in dry interior spaces, decorator’s caulk works well—it fills those gaps between your trim and walls effectively, creates a smooth, paintable surface, and doesn’t require the heavy-duty moisture resistance you’d need near a shower or tub. It’s straightforward to apply along baseboards, particularly when you’re matching existing paintwork, since it takes paint effectively once fully cured. Just keep it strictly away from any areas where water splashes or humidity lingers, and you’ll get the polished, professional look you’re after.
Skirting Boards And Baseboards
Where does decorator’s caulk work best in your bathroom? Right along your skirting boards and baseboards. These lower wall areas rarely encounter standing water or constant moisture, making them ideal for decorator’s caulk’s strengths.
Decorator’s caulk fills gaps between your skirting boards and walls effectively. It flexes slightly as your home settles seasonally, preventing those annoying cracks that appear in rigid fillers. The material accommodates minor expansion and contraction without issue.
Once cured properly, you can paint over it seamlessly, creating that polished, finished look you want. Your baseboards deserve that professional appearance. Just keep the gap clean and dry before application. This is where decorator’s caulk performs well—away from splashing water and humidity, providing reliable, flexible protection for years.
Interior Wall Gaps Only
Now that you understand where decorator’s caulk works best—along your baseboards and skirting boards—let’s talk about the broader category it belongs to: interior wall gaps in dry areas. Decorator’s caulk performs well when you’re filling gaps between skimmed walls and trim in rooms without moisture exposure. You’ll apply it with a standard caulking gun, smooth it with a damp finger, and mask edges with tape for clean lines. It dries flexibly, accepting paint beautifully once cured. But here’s what matters most: keep decorator’s caulk away from bathrooms, kitchens, and anywhere moisture lingers. Your walls need protection that matches their environment. Choose decorator’s caulk for dry interior spaces, and your finished work will reflect the care you’ve put into it.
Silicone Sealants: Why They’re Superior for Water-Prone Areas
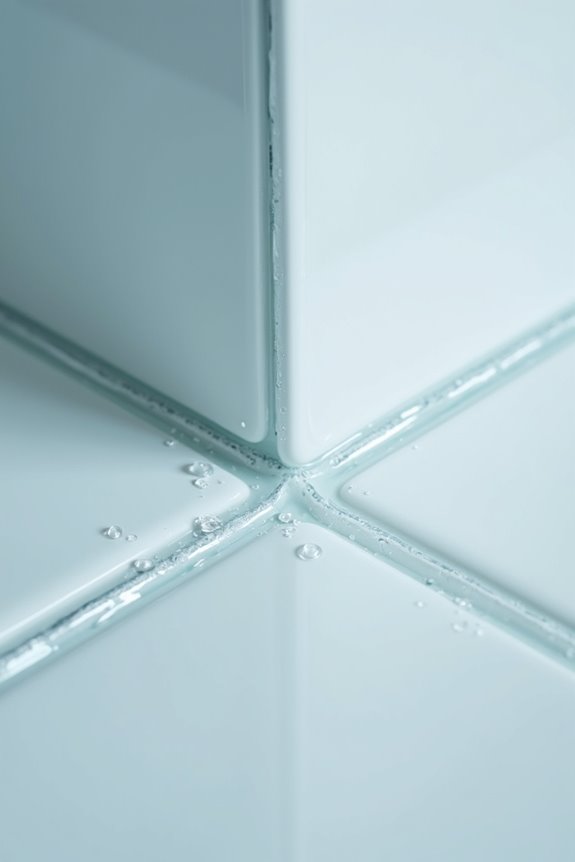
Why do so many bathroom professionals reach for silicone sealants instead of other options? They’re the best choice for wet areas. Silicone sealants offer 100% adhesion and flexibility, which means they won’t crack when your bathroom temperature shifts. They’re waterproof and naturally resist mildew, keeping your spaces cleaner longer. They cure quickly—full curing happens in about 24 hours, so you’re back to normal bathroom use fast. For tubs, showers, and sinks, you’ll want a sealant specifically labeled for bath and shower use—products like Oatey Silicone Sealant deliver that durability. They maintain their performance through moisture and temperature swings without shrinking or crumbling. That’s why professionals rely on them consistently.
The Hybrid Option: Siliconized Acrylic for Faster Application
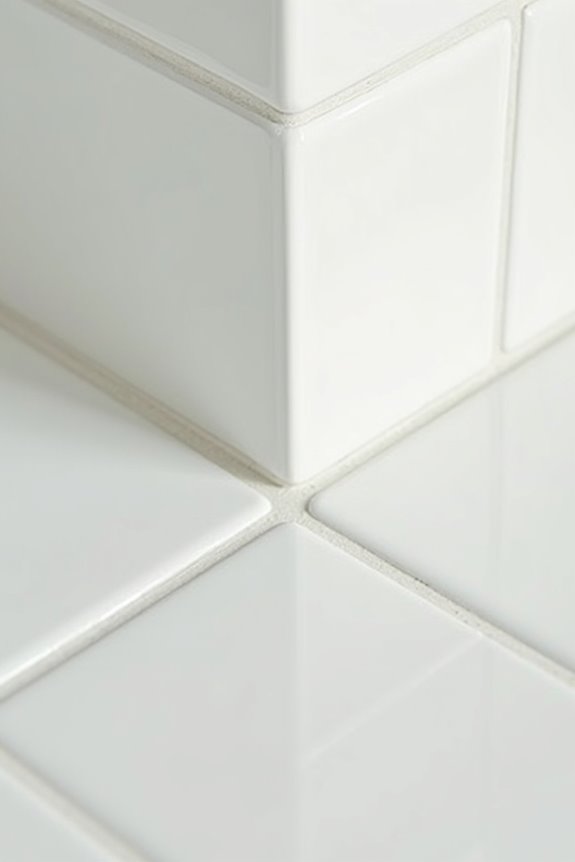
If you’re tired of waiting around for caulk to cure, siliconized acrylic latex might be your answer—it’ll dry in about 24 hours while giving you that smooth, blendable application that makes bathroom joints look professionally finished. You’re getting the best of both worlds here: the flexibility and waterproofing that silicone delivers, combined with the user-friendly handling of acrylic that won’t leave you frustrated during application. The real trade-off you’ll notice is that while it dries faster and applies easier than pure silicone or standard caulk, it requires more attention to temperature changes compared to 100% silicone products, but for most bathroom projects around tubs and showers, that’s a reasonable compromise.
Quick Drying Time Benefits
When you’re tackling a bathroom project, waiting around for caulk to cure can feel like watching paint dry—literally. Siliconized acrylic changes that dynamic entirely. This hybrid formulation dries in about 24 hours, which means you can seal your bathtub, shower surround, or backsplash today and use that space tomorrow. Unlike pure silicone products that demand days of patience, siliconized acrylic gives you speed without sacrificing quality. You get the waterproof protection and temperature resistance you need, plus faster results. The quick drying time also means fewer interruptions to your daily routine. Once it sets, you’re done worrying about moisture seeping into unwanted spaces. That’s the kind of efficiency that makes bathroom renovations feel manageable and worthwhile.
Balancing Flexibility And Ease
Speed matters when you’re renovating, but so does getting a seal that actually holds up over time. I’ve found that siliconized acrylic latex caulk strikes that perfect balance, giving you both flexibility and ease without the headaches.
Here’s what makes decorators caulk effective:
- Blends silicone’s waterproof properties with acrylic’s user-friendly application
- Stays flexible through temperature swings, resisting cracks and shrinking
- Dries in about 24 hours, keeping your project moving
- Cleans up easily with just water
You’re getting professional-grade sealing performance without wrestling with pure silicone’s tricky handling. For bathroom applications around tubs and showers, this hybrid formula delivers the moisture resistance you need. The caulk will hold up when it matters most.
Application Speed Versus Performance
How do you actually choose between getting your bathroom project done quickly and having a seal that’ll last? Siliconized acrylic latex caulk—often called decorators caulk—offers a practical middle ground. It dries in about 24 hours, speeding up your timeline compared to pure silicone’s longer cure time. You’ll appreciate its flexibility and resistance to temperature-related shrinking and crumbling, making it reliable for bath surrounds and backsplashes. Here’s the trade-off: while decorators caulk performs well, it won’t match 100% silicone’s long-term moisture resistance in high-humidity zones. The real bonus? You can paint over it after curing, letting you match your bathroom’s colors perfectly. It’s the practical choice for folks wanting reasonable speed without sacrificing too much durability.
Where to Use Bathroom-Grade Silicone: Tubs, Showers, and Sinks
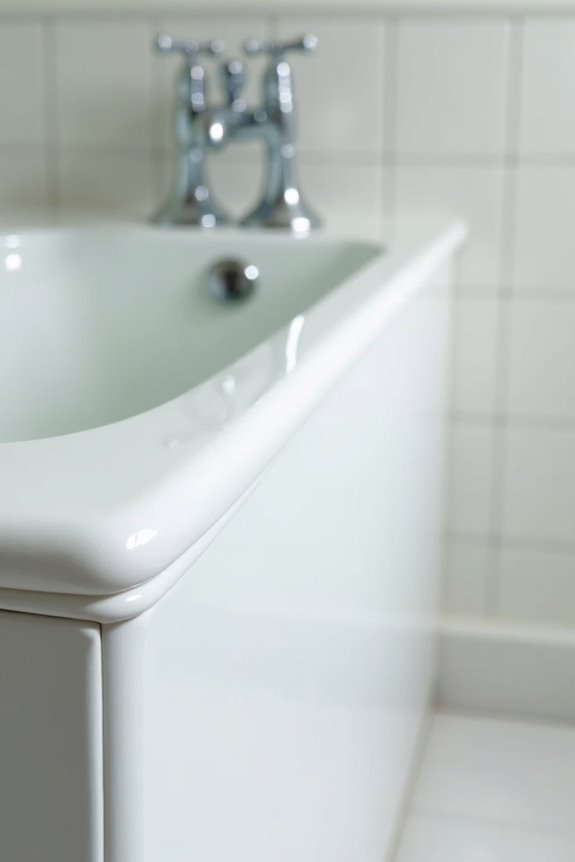
Where exactly should you apply bathroom-grade silicone in your bathroom? Using the right sealant in specific areas helps protect your space from water damage. You’ll want bathroom-grade silicone wherever moisture gathers constantly:
- Tub and shower corners where water pools and creates mold risks
- Sink edges around countertops to prevent water seepage underneath
- Shower pan seams that experience daily moisture and temperature shifts
- Tile grout lines in wet areas needing extra water resistance
These joints need 100% silicone sealants because they flex with thermal changes and resist mold better than acrylic alternatives. Bathroom-grade silicone works well in these applications—it keeps your bathroom sealed tight. Apply it to these critical spots for proper protection.
Common Mistake: Using Decorators Caulk Around Toilets
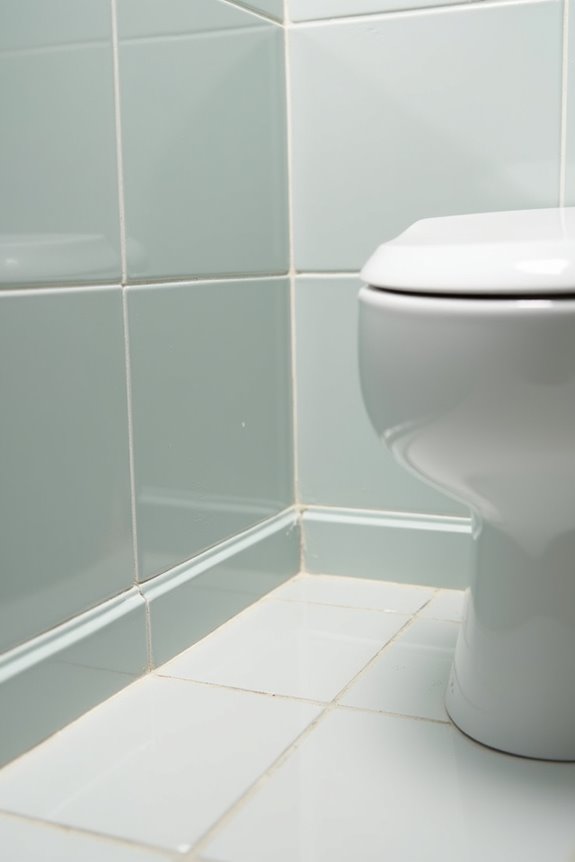
Why do so many people reach for decorator’s caulk when sealing around their toilet base? It’s affordable and readily available, but here’s the truth: it’s a common mistake that costs you later. Decorator’s caulk is flexible acrylic filler, not a true sealant, and it can’t handle the moisture and movement toilets create. Constant water exposure, temperature swings, and toilet shifting cause cracking and mold growth. Caulk around toilets demands better protection. Instead, choose sanitary silicone or siliconeized acrylic caulk—they’re designed for bathroom conditions and resist water penetration and mold far better. While decorator’s caulk might seem like the easy choice, your bathroom needs proper sealing. Choose the right product now and avoid costly replacements down the road.
Prep Work: Getting Bathroom Surfaces Ready for Caulk
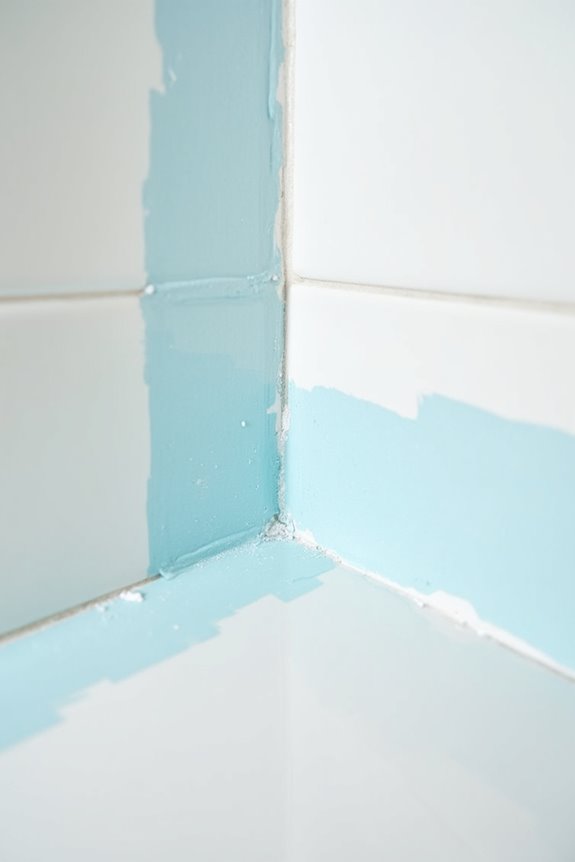
Before you open that caulk tube, the foundation of your success depends on proper prep work. Skipping this step leads to failure.
Start by inspecting your bathroom and removing any deteriorated caulk around existing seams. Here’s what you’ll need:
- Mildew-resistant cleaner and bleach or hydrogen peroxide
- Putty knife, caulk remover, and isopropyl alcohol
- Painter’s tape and silicone caulk with a caulking gun
Clean thoroughly, treating any mold before re-caulking. Mask adjacent areas with painter’s tape for sharp edges. This prevents messy application and protects your tiles and fixtures. When you take time on prep work now, your results will last for years.
How to Apply Caulk Like a Pro
Now that your bathroom surfaces are prepped and ready, it’s time to apply your caulk. I’ll walk you through each step.
| Step | Action |
|---|---|
| Clean & Dry | Remove all dirt, soap residue, and moisture from gaps |
| Mask Edges | Apply painter’s tape on both sides for clean lines |
| Load Gun | Insert caulk tube, cut nozzle at 45-degree angle |
| Apply Bead | Use steady, even pressure for consistent application |
Push your caulk gun smoothly along the joint, maintaining constant speed. Smooth the bead immediately with a damp finger before it sets. For decorator’s caulk, you’ll want precise application since it’s less forgiving in moisture-prone areas. Remove excess with a wet tool. Let everything cure fully—24 to 48 hours—before exposing to water.
Drying Times and Curing Windows

How long you’ll actually wait before your bathroom’s ready for water exposure?
Getting timing right is important for proper results. Decorator’s caulk typically dries in 1–2 hours, but here’s what matters most:
Getting timing right is crucial—decorator’s caulk dries in 1–2 hours, but full curing takes 24 hours before painting or moisture exposure.
- Full curing takes about 24 hours before painting or moisture exposure
- Small gaps that sink after drying can be filled with additional beads, then recured
- Older caulk cracks over time as flexibility decreases, requiring reapplication
- Bathroom areas need sealants with better damp resistance during cure periods
Don’t paint or expose wet areas before that 24-hour window closes. If you’re dealing with moisture-prone spots, consider upgrading to specialized sealants offering superior mold resistance. Patience here pays off—your bathroom stays sealed properly, and you’ll feel confident in the results.
Removing Old Caulk From Bathroom Surfaces
Once that 24-hour cure window passes and your new sealant has set properly, you’ll eventually face the reality that all caulk ages. When cracks appear or discoloration sets in, caulk removal becomes essential for maintaining your bathroom’s integrity.
I’ll grab a caulk removal tool or sharp blade to clear away the entire old bead completely. This step matters tremendously because leftover residue sabotages new sealant adhesion. Next, I clean the joint surfaces with a mildew-resistant cleaner, then wipe everything down with isopropyl alcohol to eliminate stubborn grime.
Here’s where patience pays off: I let the area dry thoroughly, sometimes overnight. Applying fresh caulk to damp surfaces invites failure. Once dry, I apply my new bead, smoothing promptly to prevent gaps.
Why Silicone Beats Acrylic Against Mold and Mildew
When you’re standing in your bathroom six months after recaulking, the last thing you want to see is dark mold creeping back into those joints.
That’s where silicone sealants excel. They’re superior to acrylic caulks when it comes to fighting mold and mildew. Here’s why this choice works:
- Water resistance that lasts: Silicone creates a protective barrier that acrylic simply can’t match
- Natural antimicrobial properties: These built-in defenses actively resist mold growth without extra treatments
- Flexibility matters: Silicone stays elastic through humidity swings, eliminating gaps where mold loves hiding
- Faster curing means protection: 100% silicone sets within 24 hours, sealing your bathroom faster
You’re not just filling joints—you’re investing in long-term bathroom health.
Top-Rated Silicone Products for Bathrooms
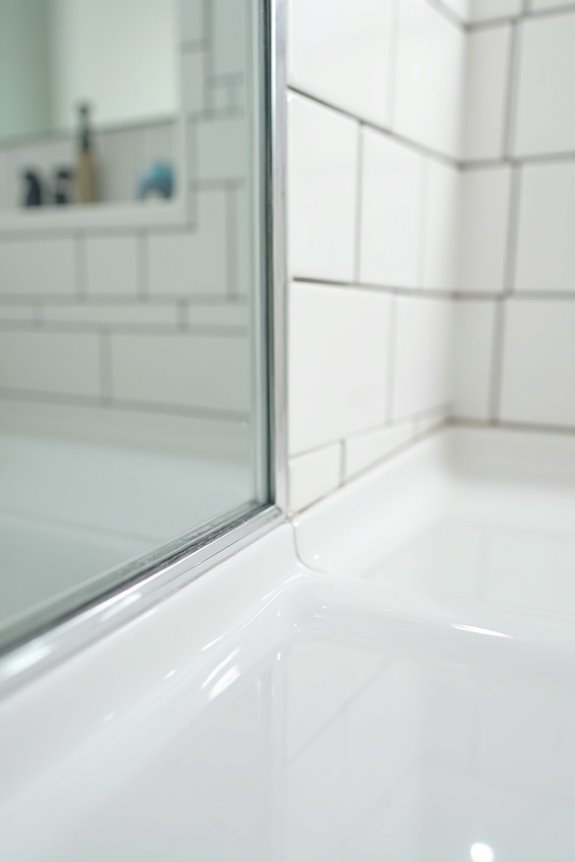
Now that you understand silicone’s superiority, you’re probably wondering which products actually deliver those mold-fighting benefits. I’ve found that Oatey Tub-N-Tile Sealant and its Ultra Clear variant stand out as reliable options for bathrooms. These 100% silicone formulas are mildew-resistant, waterproof, and fully cure within 24 hours—exactly what your shower needs. Harvey Siliconized Acrylic Caulk offers another solid option if you prefer easier application without sacrificing performance. What makes these bathroom silicone sealant products effective is their proven performance in moist environments. They’re specifically labeled for bath and shower use, meaning they’ll flex with temperature changes and resist water infiltration far better than generic alternatives. You’re investing in genuine durability, not an inferior substitute.