
I’ve discovered that designer counters start empty—really empty. Clear everything, assess each item honestly, then reintroduce only daily essentials like your coffee maker and cutting board. I group similar items on trays (oils by the stove, soaps by the sink) using wood or marble to match my style. I balance height with a tall piece, mid-height item, and low object together. Finally, I moved my knives to a magnetic strip and cutting boards to a wall display, reclaiming precious counter space. These five strategies give your kitchen a more organized appearance, with additional techniques available to explore.
Begin With an Empty Counter
How many things are actually sitting on your kitchen counters right now?
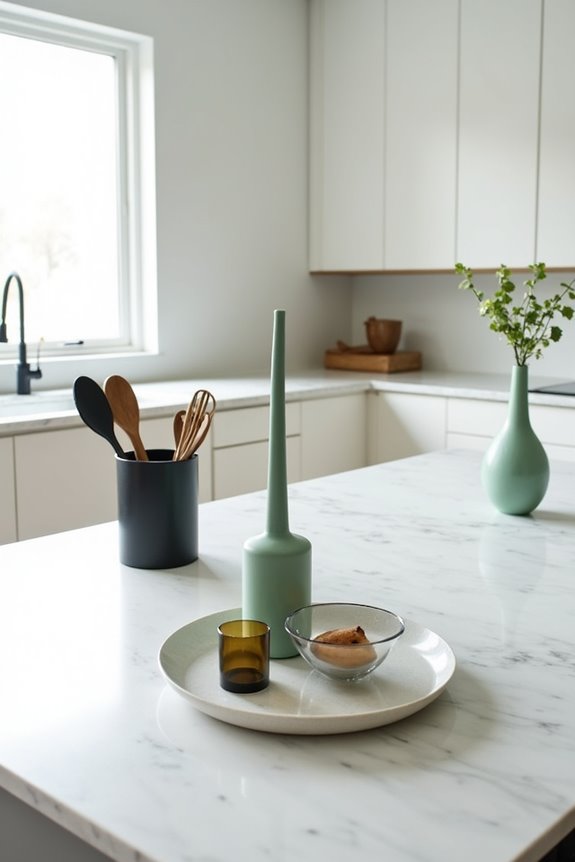
A designer’s first move is always the same—clear everything off completely to create a blank canvas.
I’m guessing there’s more than you’d like. Here’s the truth: a designer’s first move is always the same—clear everything off completely. Yes, everything. This reset gives you a blank canvas and helps you see what you’re actually working with.
As you declutter, assess each item honestly. Does mail belong there? No. Keys? Relocate them to a designated spot near your entryway. Papers and clutter deserve their own homes elsewhere.
Now comes the practical part. You’re reintroducing items deliberately, creating breathing room that makes your kitchen feel calm and organized. Group similar items using trays or canisters to form cohesive arrangements. Apply the rule of three—pairing a tall item, medium item, and functional piece—to arrange everyday essentials with balance and purpose.
Organize Kitchen Counters With Trays
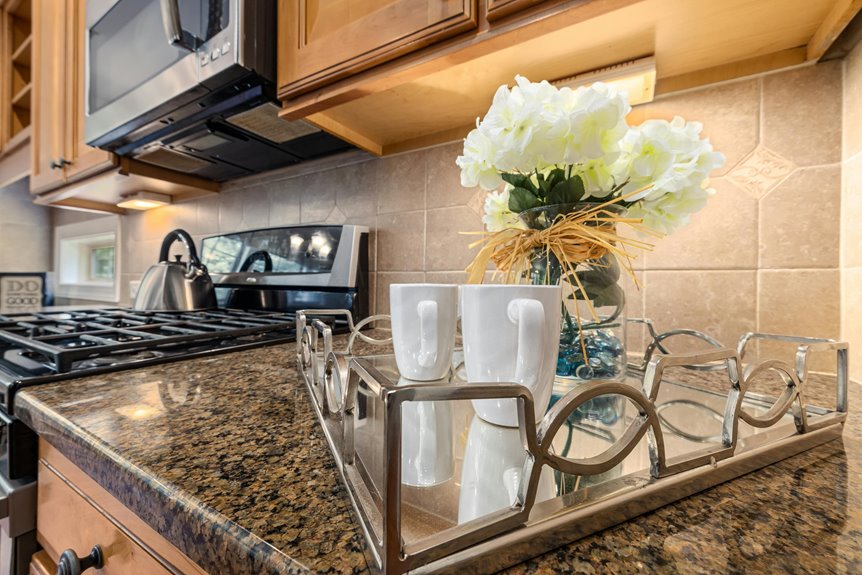
Now that you’ve cleared your counters and know what you’re keeping, it’s time to organize those items in a way that looks deliberate and well-arranged—and trays are a practical tool for this. Group three to four like items on trays, creating displays that bring order to counter space. Place a tray by your stove for oils and salt, or near the sink for sponges and soap. The tray itself offers protection, preventing oil rings and drips from damaging your surfaces.
Choose materials that match your kitchen’s style—wood, marble, or metal—and vary shapes between round and rectangular. A larger tray on your island can hold flowers, glassware, and plates in a coordinated way. This approach organizes everything while making your kitchen appear thoughtfully arranged.
Choose What Earns Counter Space
What’s actually worth displaying on your kitchen counter? I’ve learned that only items I use daily truly earn their spot. Everything else creates clutter and steals valuable real estate. Here’s my honest approach:
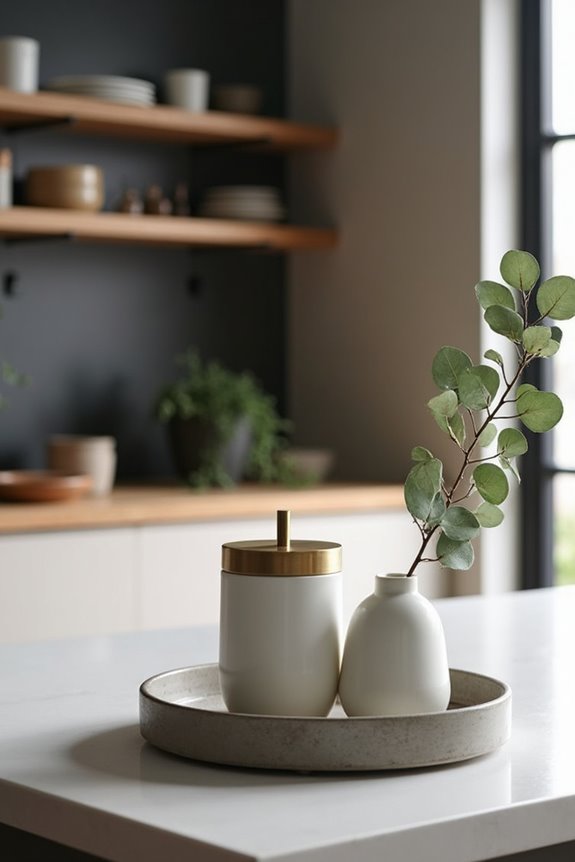
- Daily essentials: Your coffee maker, utensils in a container, and cutting board deserve counter space because you reach for them constantly
- Decorative canisters: I swap flour and sugar packaging for beautiful containers that blend function with style, reducing visual chaos
- Purposeful groupings: I use trays or baskets to corral oils, spices, and similar items together, applying the rule of three for balance
I reassess monthly. If something doesn’t serve a daily purpose, it goes into cabinets. This minimalism approach means my counter stays functional and beautiful. That’s when I feel most satisfied with my kitchen.
Balance Height and Texture in Your Vignettes
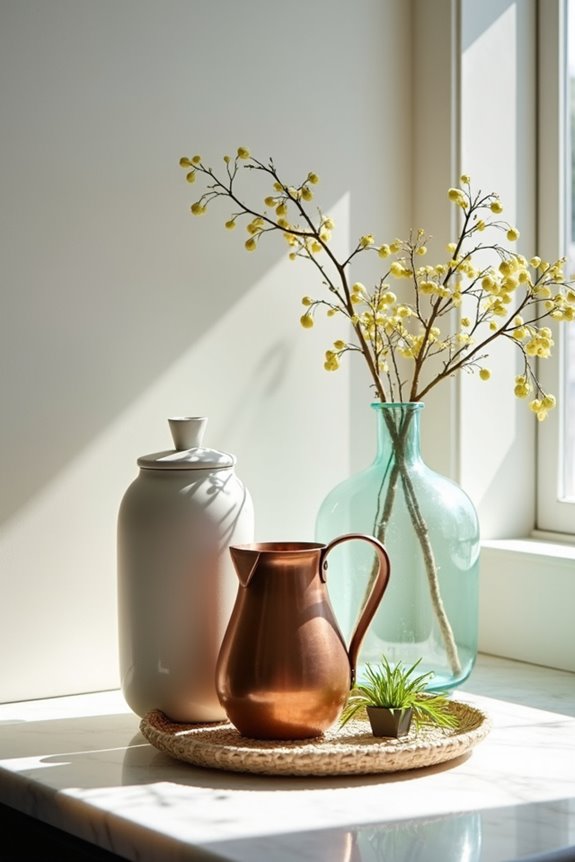
Ever notice how some kitchen counters feel chaotic while others draw your eye naturally? That’s the result of layering height and texture. I’ve learned that three-item groupings create rhythm without overwhelming your space. Pair one tall piece—like a ceramic vase or utensil holder—with a mid-height item and something low, such as a cookbook or bowl. This balance prevents crowding while establishing visual cohesion.
Placing pieces on stands or trays keeps your counter functional while maintaining decor potential. I place collections near the backsplash, mixing smooth surfaces with textured elements. Varying heights draws the eye naturally across your counters, creating depth that makes even small spaces feel purposeful and designed. This layering approach turns everyday items into a display that appears well-considered.
Display Boards and Knife Racks: Move Tools Off Counters
Once you’ve got your counter vignettes looking balanced and intentional, it’s time to tackle the tools that eat up your valuable workspace. Moving knives and cutting boards off your counters creates more functional kitchen space.
Here’s what works:
- Wall-mounted storage solutions like magnetic knife strips and rail systems keep frequently used tools within arm’s reach without cluttering your prep zone
- Display boards showcase beautiful cutting boards as functional art, freeing counter real estate for actual cooking
- Knife racks near your preparation zone streamline your workflow and create an organized look
A scalable rail system lets you add tools as needed without crowding anything. This utensil organization reclaims significant counter space—suddenly you’ve got room to actually cook and create.